I’m a coffee drinker, it’s part of my routine and I enjoy sitting down with a good cup of coffee to start my day. I have found a simple and quick way to make coffee on the boat.
OK, freeze dried or instant coffee would be faster. But I’m not a fan of the taste, the packaging or the expense. Keurig would be faster but needs electricity, a large machine and I don’t want to store and dispose of the waste. A coffee maker requires electricity and a bulky machine. An Italian Moka Pot or percolator work nicely on the propane stove but too much work to clean and prep! A Bodum press is getting closer to a perfect solution for me but I found coffee grounds getting past the steel mesh filter and cleanup requires a bunch of water to flush the coffee grounds.
My preferred solution for a quick coffee is an Aeropress Coffee Brewer.
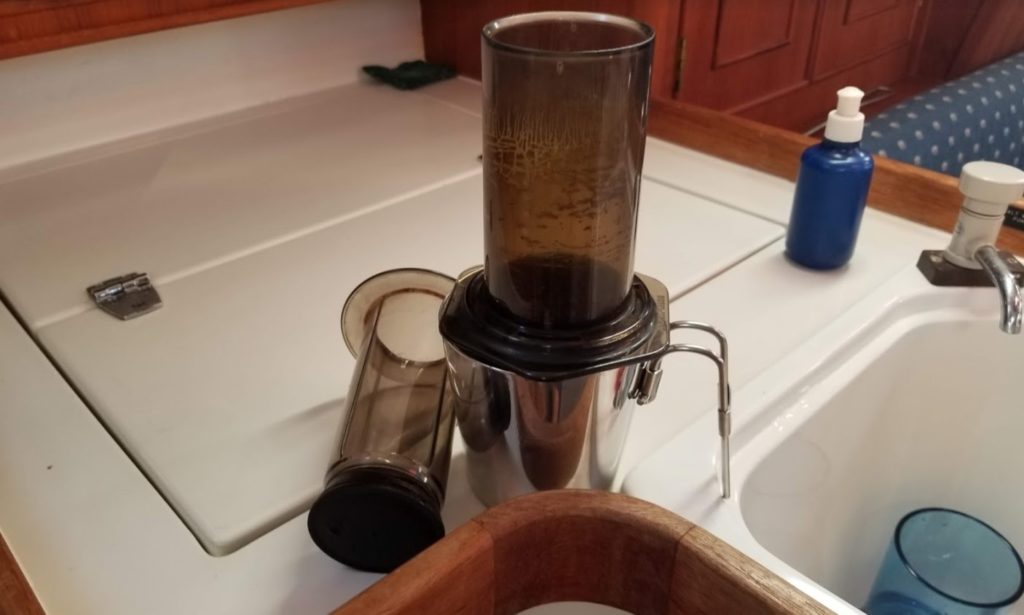
It’s perfect for on the boat and I also use it daily at home. If Lori drank coffee or if I found I needed more than one cup a day then I would probably go back to the bigger Bodum or Perculator. But the Aeropress lets me make a single cup of coffee in two minutes, including clean up.
And, yes, Aeropress is made by the same company that brought us the Aerobie frisbee. But here’s why I think it’s the best way to make coffee on a sailboat.
- efficient – only boil the water you need.
- good coffee – with the right beans and grind you can make some really good coffee, even the experts agree. You can also make something close to an expresso, I think it’s close enough, but the. experts would disagree with me here
- simple clean up – after pressing your coffee you eject the used beans as a compressed puck. Give the Aeropress a quick rinse and your cleanup is done.
- enjoyable process – the feeling of the smooth press of coffee and the satisfactory pop of the used coffee grinds makes it an enjoyable part of my morning routine.
- small paper filters – they are little circular pieces of paper that fit perfectly into the end of the aeropress. Makes very little waste. And you can easily store 100s on board.
- transformer like – there’s several methods of brewing coffee depending on what you like. Regular and inverted method, giving you some fun ways to experiment with different types of coffee. There are different attachments you can buy as well. I’ve tried the metal reusable filter and an expresso shot attachment.
- long rust free life – I’ve had mine for about ten years and it’s still going strong. OK, I did get one replacement sleeve about three years ago. The case was cracking, I contacted Aeropress to ask them if I could sand out the cracks. They immediately sent me a new sleeve, free of charge.
- great customer service – see above!
The downside of making coffee like this on a boat:
- boil water separately – you still need a kettle to boil the water.
- one cup – it only brews a single cup. If you have a crew of coffee drinkers, it will take you a while to make each cup, one at a time.
- tippy – it’s a vertical cylinder. If it’s bouncy out, you need to keep a hand on it. I brew in the sink, just in case. Using the inverted method (see below) makes it somewhat sealed after you put the hot water in.
Regular Method of Brewing Coffee in Aeropress
The inventor, Alan Alder, was a Stanford University lecturer and inventor. He likes coffee with a lot of “richness, without the bitterness” and used cone filters on top of his mug before he came up with this better method to brew his coffee. It used to take too long so he added air pressure to brew faster and allow the use of finer ground coffee. Alder also found that a lower temperature, 80 C (175 F), produced a smoother coffee. This is his method:
Insert and twist a filter onto the bottom of the tube. Add two scoops of coffee and set on top of mug. Pour hot water in top of tube, about half way. Stir the mixture. Gently push plunger to the bottom.
This makes slightly less than a mug full, but resulting coffee is strong and smooth, almost like an Espresso. Hot water can be added to lighten it up, like an Americano coffee.
Inverted Method of Brewing Coffee in Aeropress
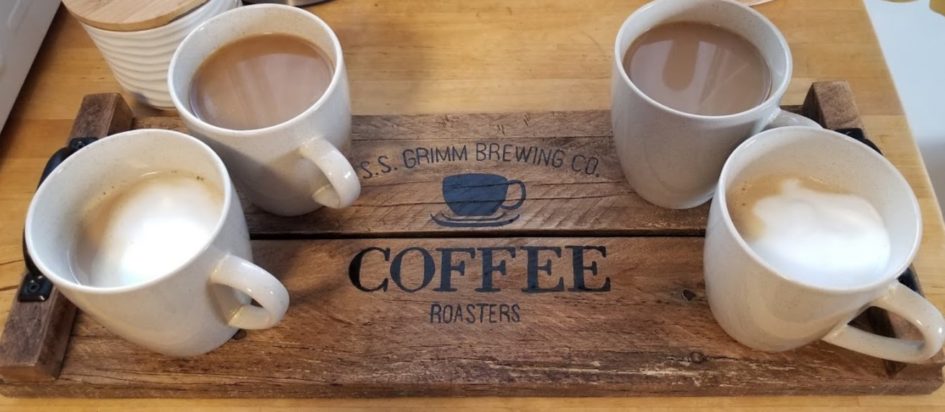
If have time and energy to heat up some milk, I prefer the inverted method to create a stronger coffee for making a Latte.
Insert the plunger into the tube and place on flat surface. Add two scoops of finely ground coffee into the tube, on top of the plunger. Add a little hot water. This is where I failed originally, just add enough water to cover the ground coffee and then just a little bit more, approx. 20%. Stir. Let sit for a minute or two. Place a filter on the screw top then carefully screw it on top of the tube. Flip the tube over on top of your mug and give it a strong push.
Top it with hot milk. Or, if you are looking for a cold caffeinated drink, just add cold milk to make something like an iced coffee. Or, if you just want a quick shot of strong thick coffee, just drink it as is.
There are a lot of passionate Aeropress users out there. Here’s one showing their inverted method. To many, making coffee is a very exact chemistry experiment. I think my method above is… good enough! 🙂
Other Ways of Making Coffee on the Boat
If I had a larger crew of coffee drinkers on the boat I would switch to either an Italian Moka Pot or a Coffee Percolator. Both would require more clean up but would be worth it at this volume.
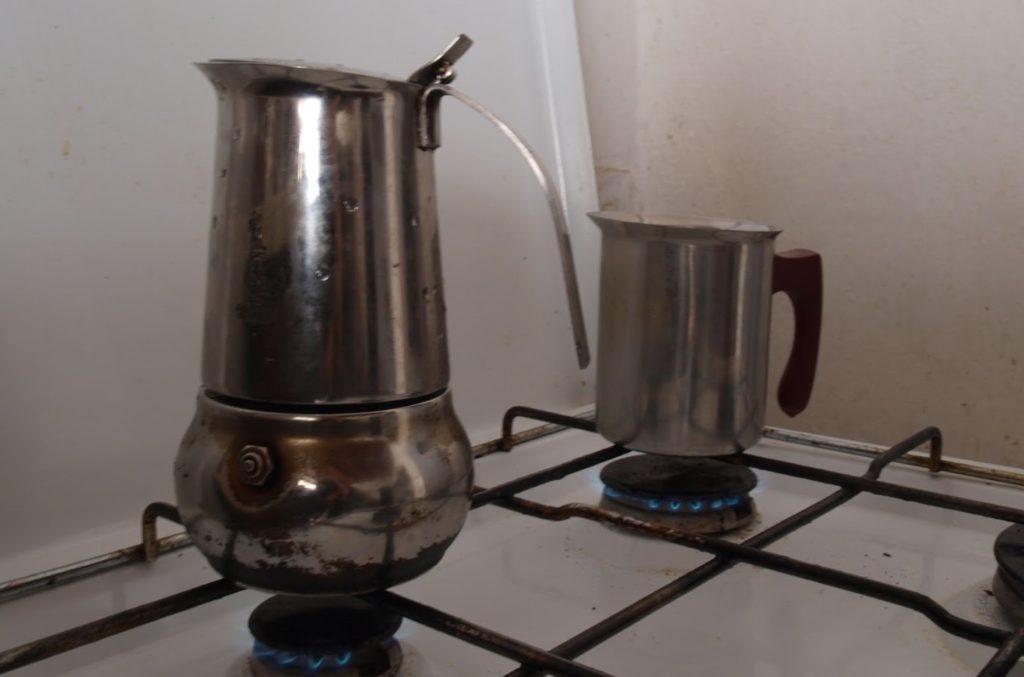
If I want a fancier coffee and have one other coffee lover on board, or if it’s an exceptionally beautiful morning, I will switch to a Moka Pot and an Italian milk warmer. This will allow me to make things like a Latte, Cappuccino or Flat White (my personal favourite). This is how we were taught to make coffee by my Italian friend while we were in Italy.
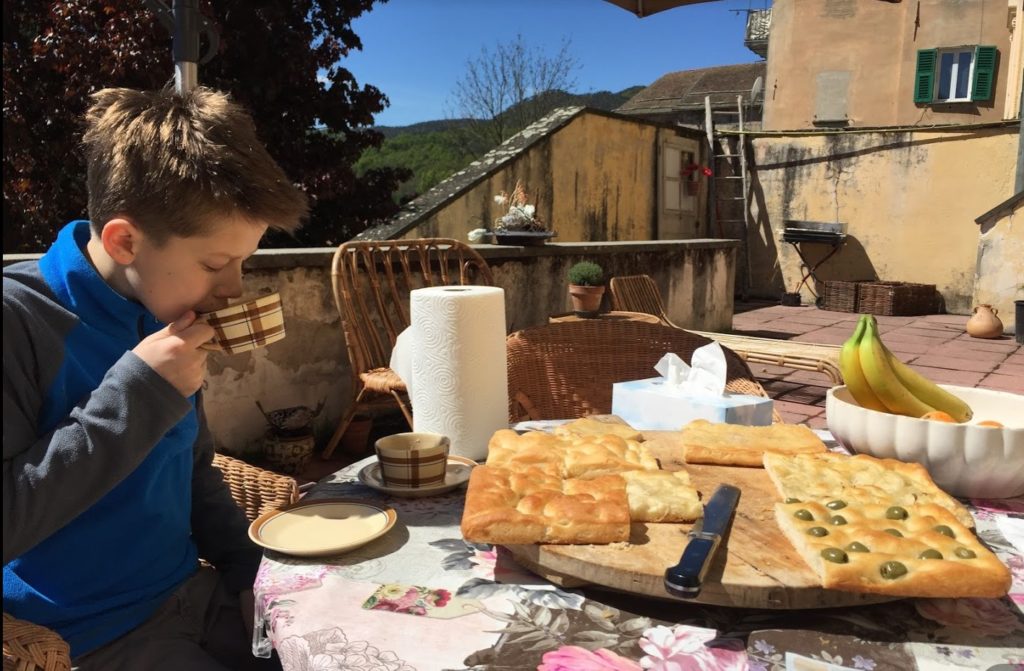
And here’s my son enjoying this coffee and our favourite breakfast while we were in Italy.
My Preferred Coffee
The beans and grind you choose will either make or break your coffee. The pros out there will roast and grind their own coffee. I’m not that dedicated and I don’t want to grind on the boat so I just use a nice finely ground coffee on the boat. My favourite, and another suggestion from my Italian friend, is LavAzza.
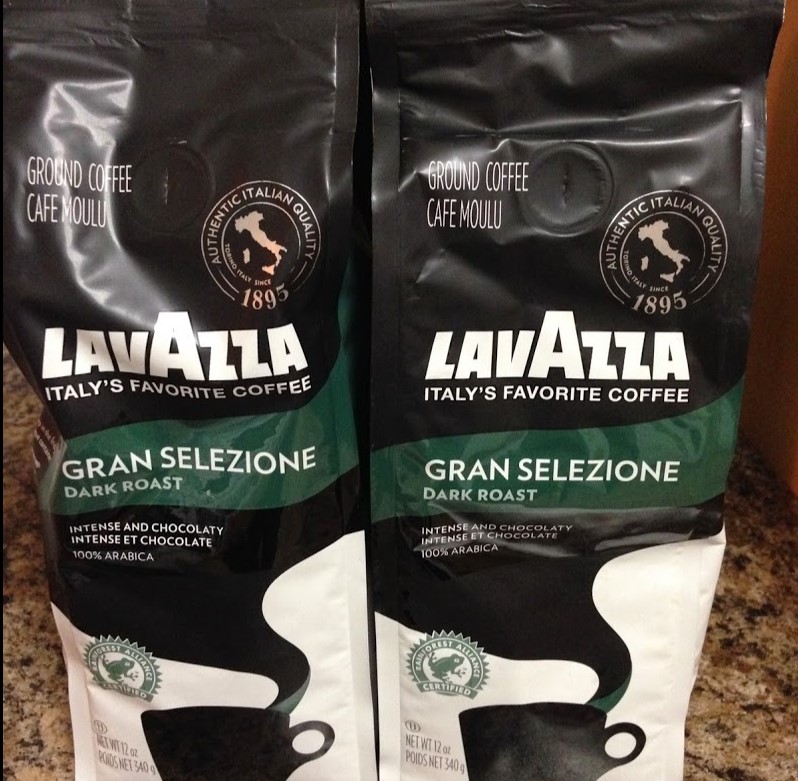
The Gran Selezione is my favourite coffee but doesn’t store as nicely as the vacuum sealed gold packs by Lavazza.
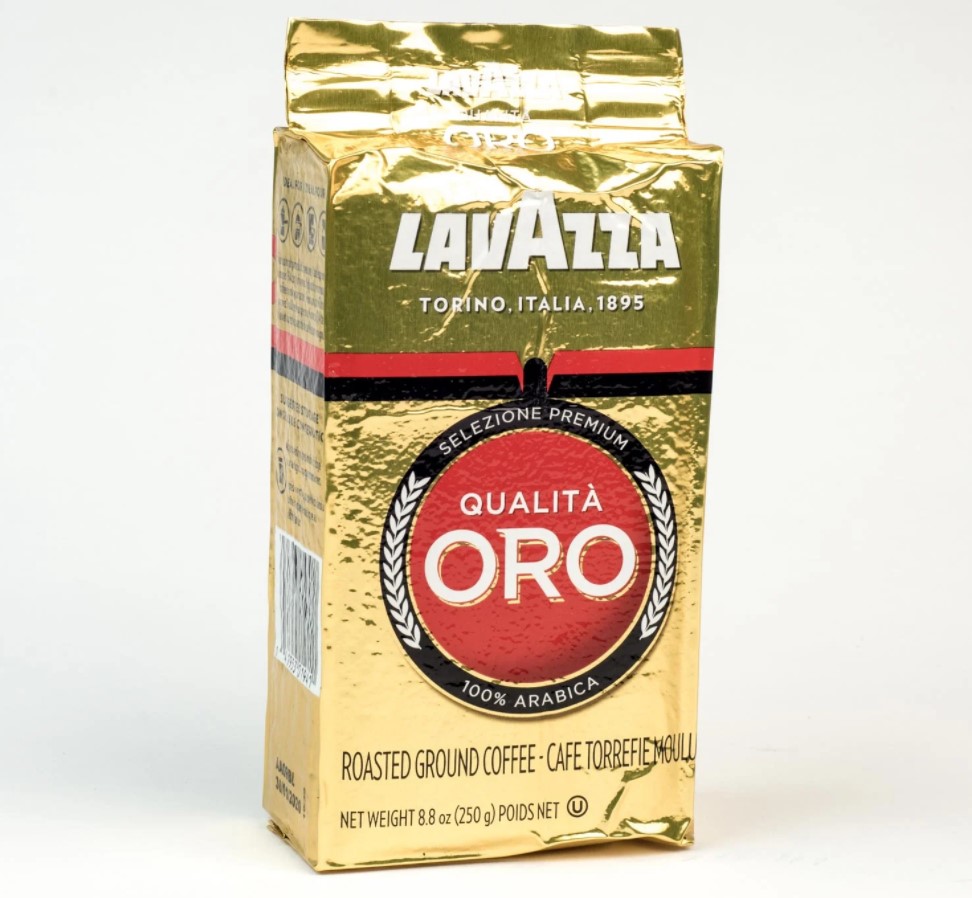
When buying, make sure the package is not soft. A lot of times they get accidently punctured in the store. They should be a solid air tight brick when you buy. And don’t bother with the cheaper red and white vacuum sealed packs. I wasn’t that impressed with it.
Amazon Links
If you are thinking of buying something I suggest here, please use one of the following links. You won’t get charged any more and Amazon will kick back a few cents my way when you purchase.
This is the full kit that I have. It includes a starter pack of filters, funnel, and stirring paddle.
This is a newer, compact version of the Aeropress. I haven’t seen our tried one of these. It comes with it’s own attached cup which may be better for rough weather. But I still prefer my full kit above.
I suggest you order a bunch of spare filters. It’s easier to get them all at once than re-ordering later. They last forever, as long as you keep them dry.
If you prefer a reusable filter, the metal coffee filter above works well. I used one for a while. It just makes cleanup take a bit longer. When you “pop” the compressed used coffee grinds out you need to pick this out and then wash it separately. I used a brush to help get the coffee grinds out of the small holes. I got lazy and now only use the paper filters.
This is a four pack of the Lavazza Gold vacuum sealed ground coffee I use in my coffee maker (direct from Lavazza). The best deal I’ve found is $5-$6 CAD at Walmart. Just make sure the vacuum seal is good when you buy.
This is the most common Italian Moka Pot, made by Bialetti. You can get these in various sizes. I just have the small one.
This is a stainless milk frother that can be used to heat up, and froth, milk on a propane stove. Mine was given to me as a gift from a small Italian hardware store in Ottawa but looks very similar to this one.



2 Pingbacks