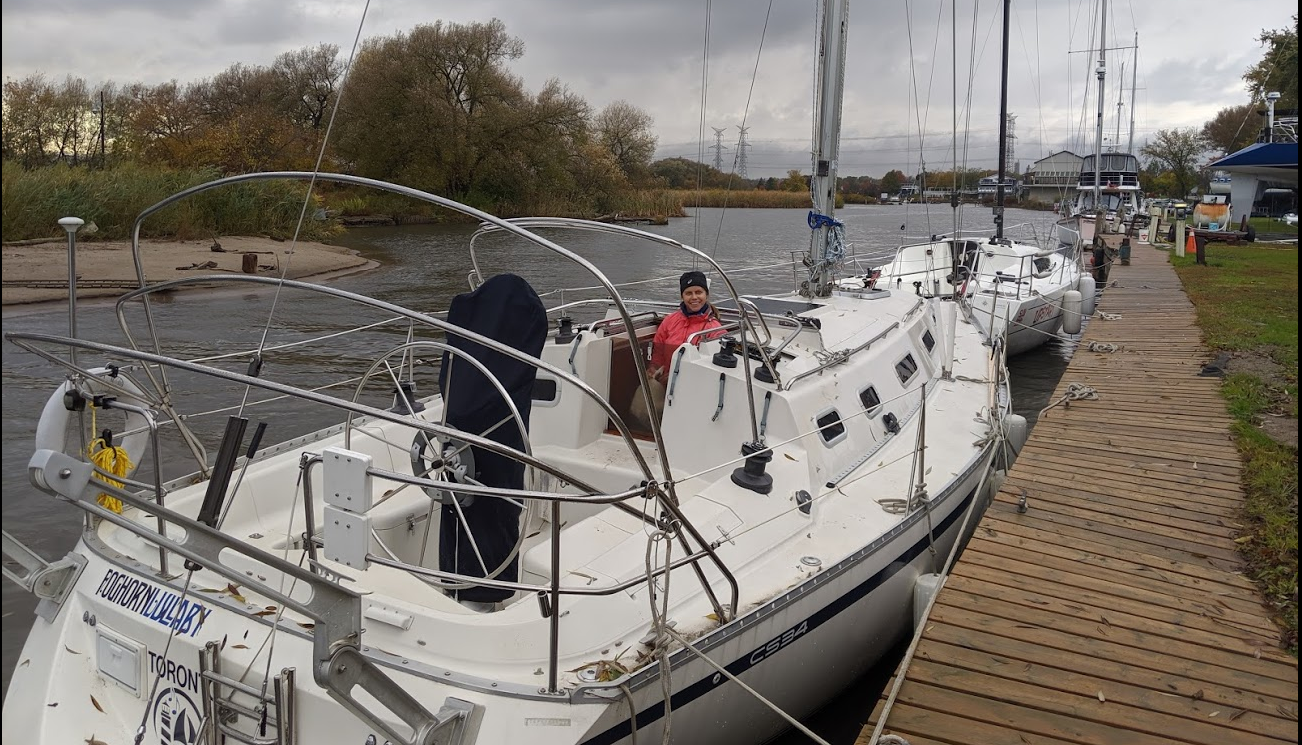
The final step in tucking in our CS34 sailboat in for the winter, a nice warm blanket. It took us two trips and made one discovery/mistake along the way.
First attempt, we left right after work on Friday and met at Wiggers Custom Yachts. As we arrived, the sun had already set and we had to work with headlamps. The snow had melted but it was still freezing cold!
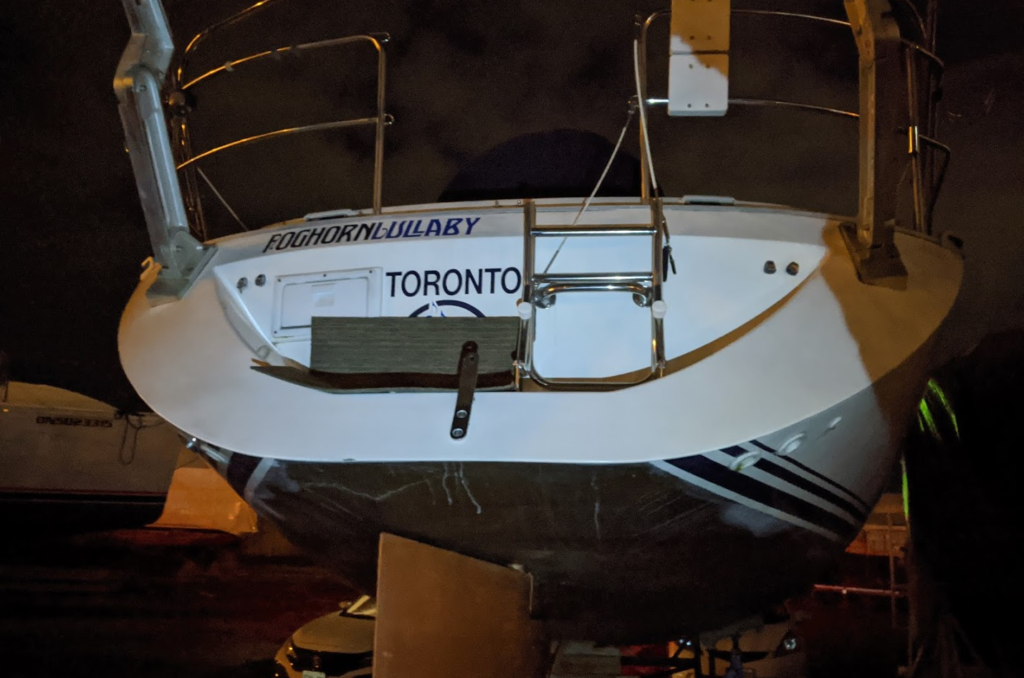
Retreating for warmth
Finished pulling out some of the straggling gear off the boat, including the batteries. After 40 minutes we were freezing and didn’t like the idea of fumbling around any more in the dark. We retreated back to a spot we saw on the drive in.

The Deck Bar and Grill (Google Maps) recently renovated and we were curious what it was like. It’s much larger than you would expect inside and the food and beer was good. They carry two local beers on tap. And they had live music starting at 8pm .
Saturday morning (try 2)
We headed out in the early afternoon, weather was still above freezing and this time it was bright and sunny. This is when we discovered our mistake.
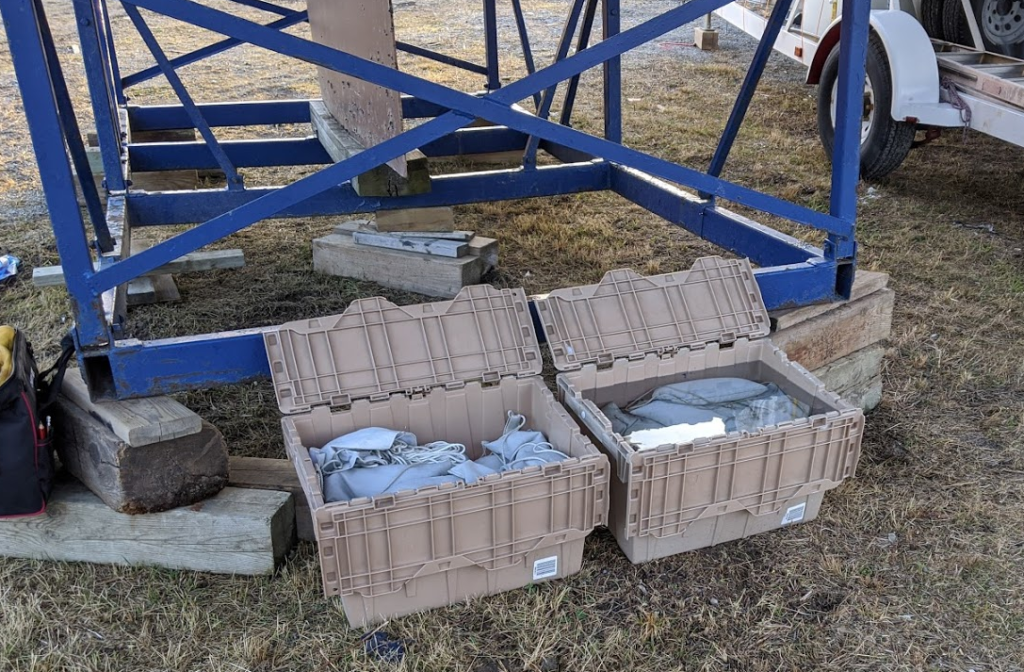
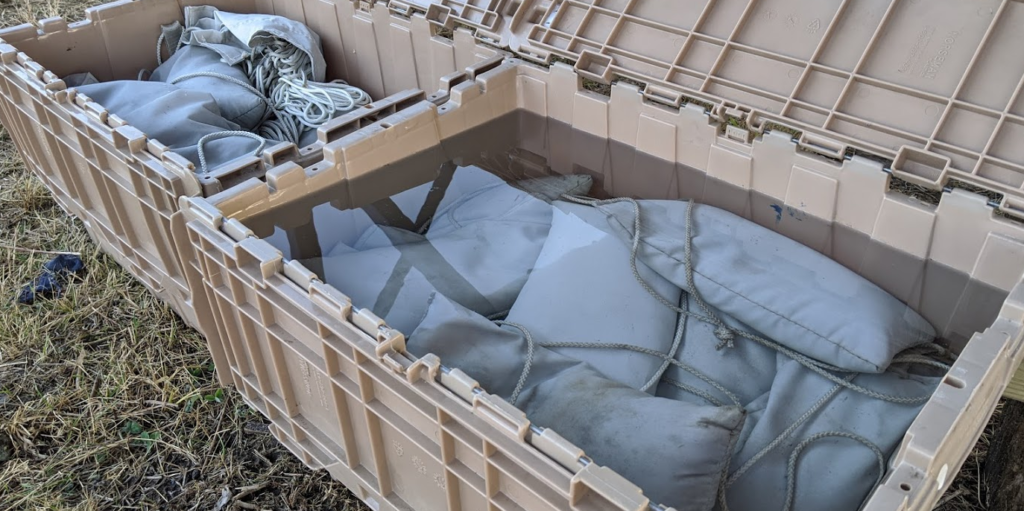
We left the sandbags behind in boxes underneath the boat. It looks like the water must run along the bottom of the boat and drip near the keel. The box on the left was nice and dry. The box on the right, not so much. We were lucky it was above freezing!
The metal tube frame is assembled. The previous owner had configured this and it’s super simple with only four metal poles that need to be attached.
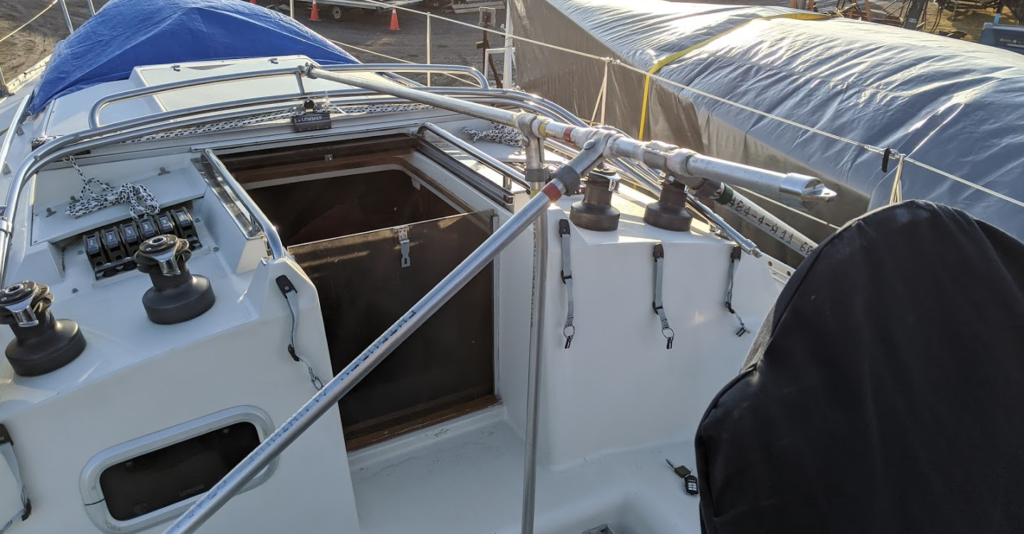
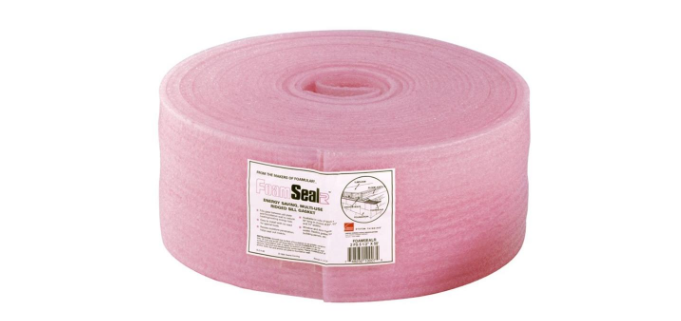
These are all clamped together with a small wrench and then are wrapped with foam to cover any of the bumpy parts that might put a hole in the canvas cover. We use framing base plate gasket. We picked it up from Home Depot and a roll will probably last 3-4 seasons.
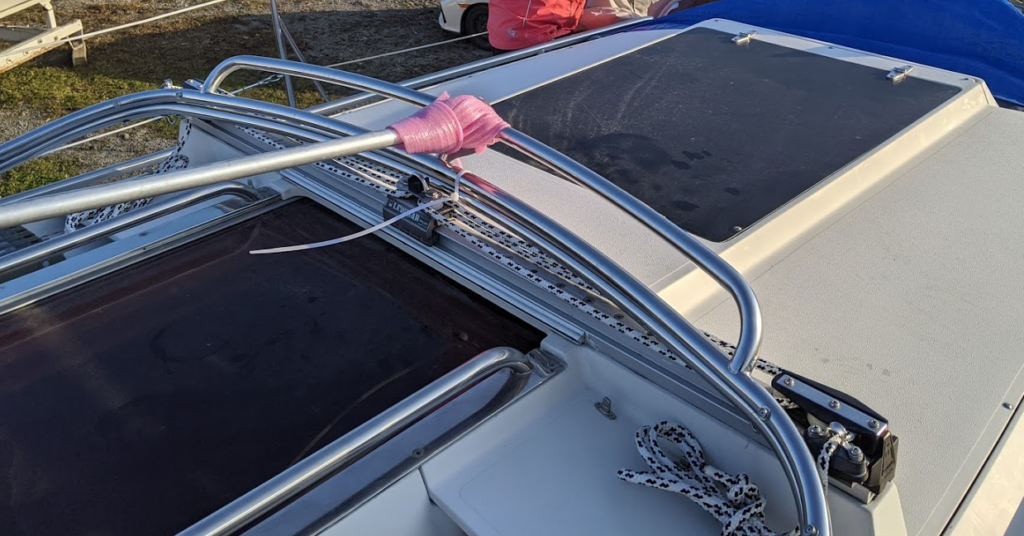
Our cover comes in two pieces, and are now all patched up. See Fixing our canvas winter cover in our CS34 Winterization 2019 post. We start with the front cover.
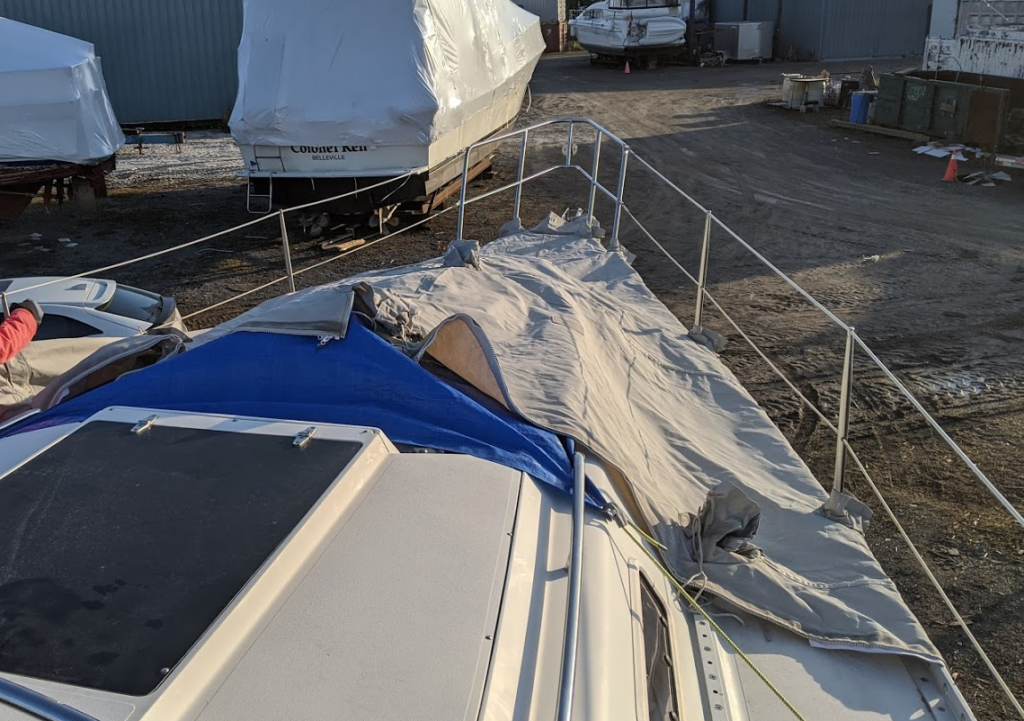
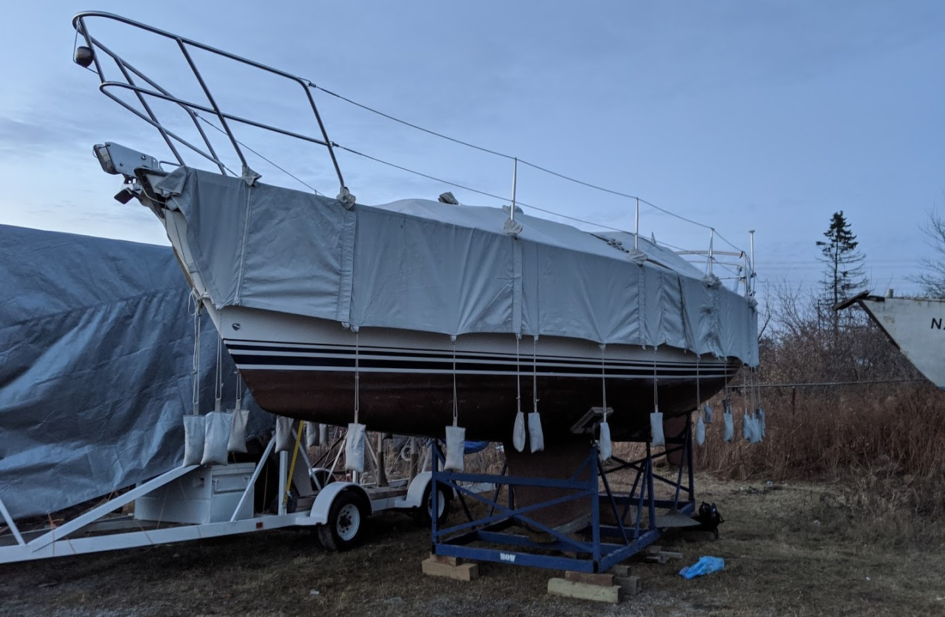
It has holes for the mast and stays so it can also be used if we kept the mast up. These were all tied up tight to try and keep the snow and water out. And we went right over the tarp I put on before just to make sure no moisture gets in. After zipping on the stern part of the cover we move onto holding the cover down with sand bags… wet dripping sandbags.
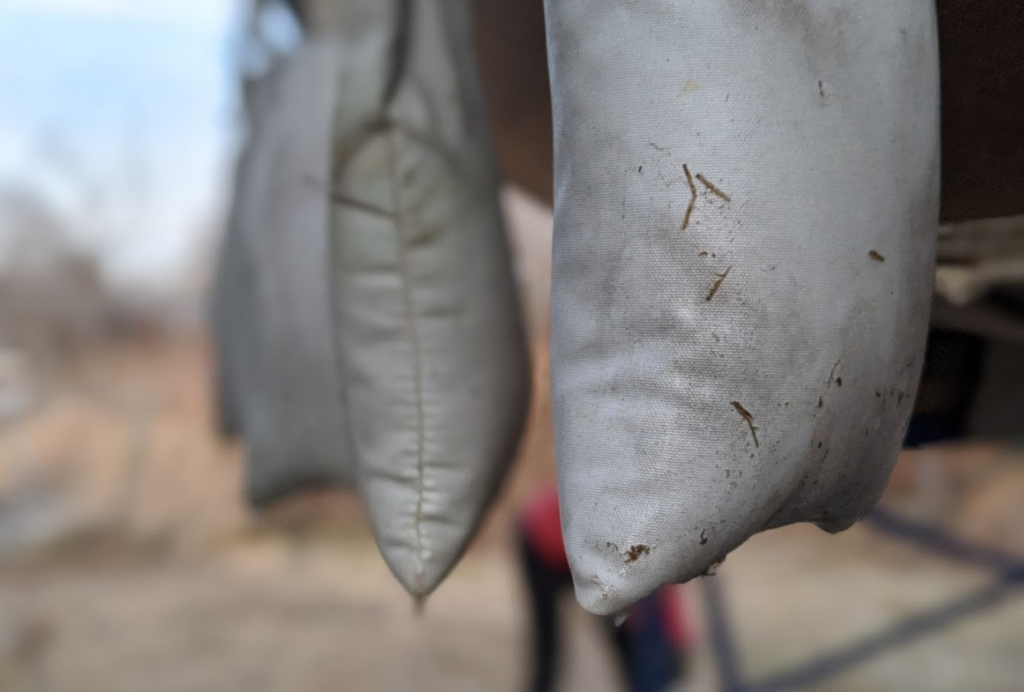
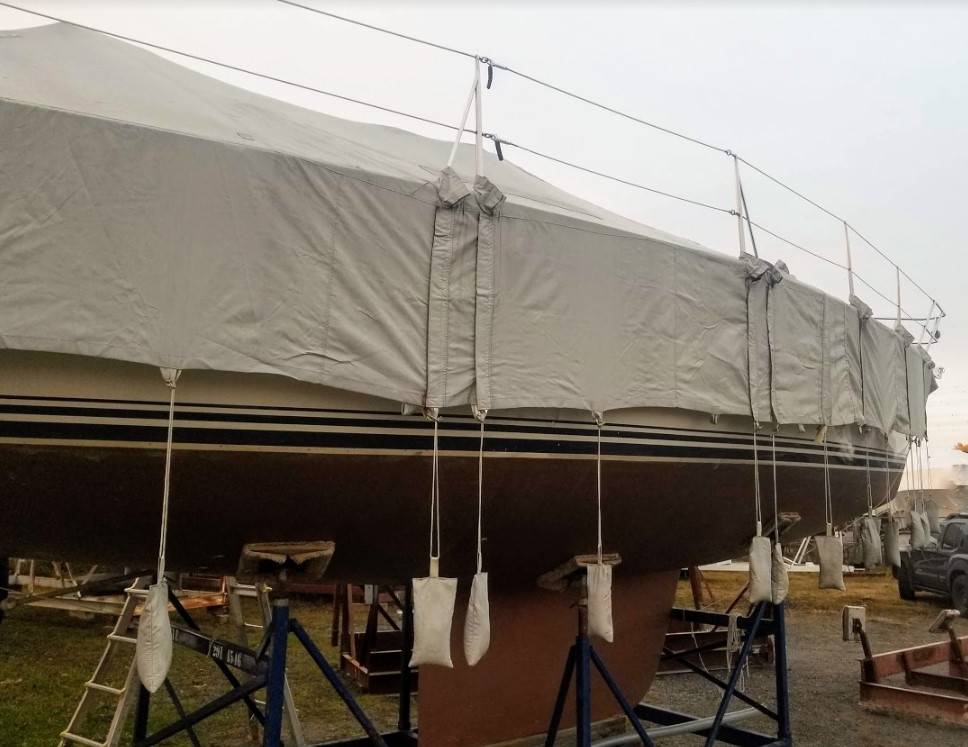
The sandbags work great. You don’t have to worry about lines rubbing against the hull or worry about lines untying or becoming loose over winter. We came up with a nice system of using a pair of long nose pliers to help pull the lines through each loop in the cover. This method allowed us to keep our gloves on.
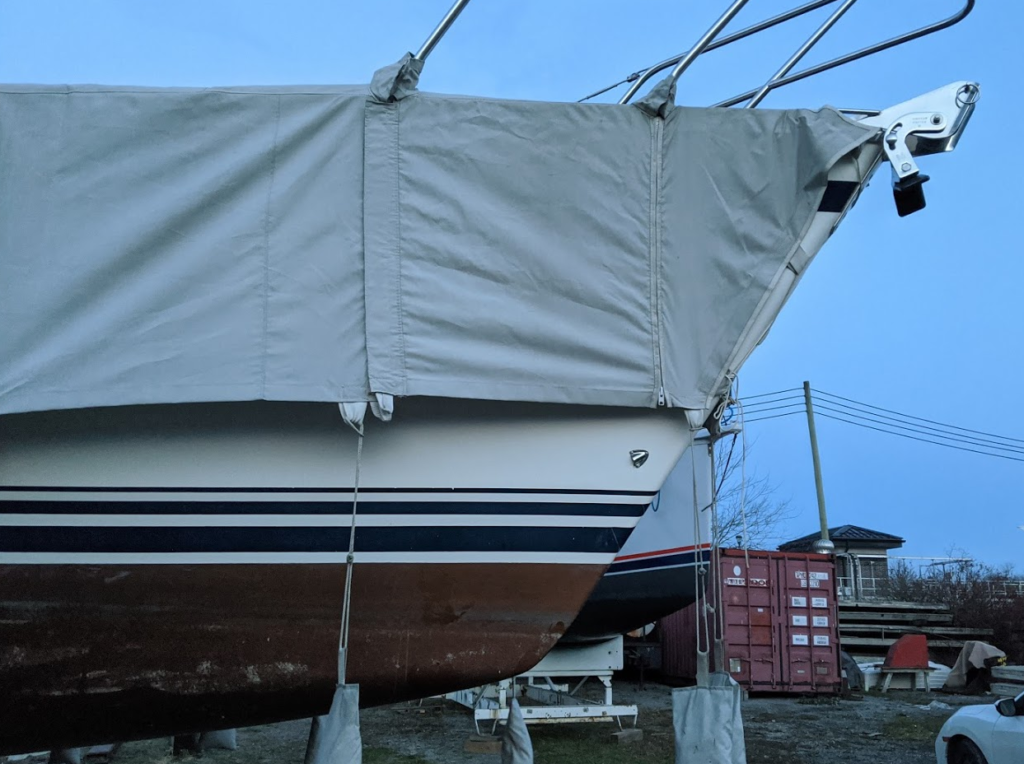
We quickly worked around the boat together on the single ladder. With only one minor injury, I threw the next batch four sandbags up onto the top of the ladder not realizing Lori had her hand there. A few curse words and a quick time out and we were back to work. Here’s the final picture of the cover. It took us about an hour and a half.
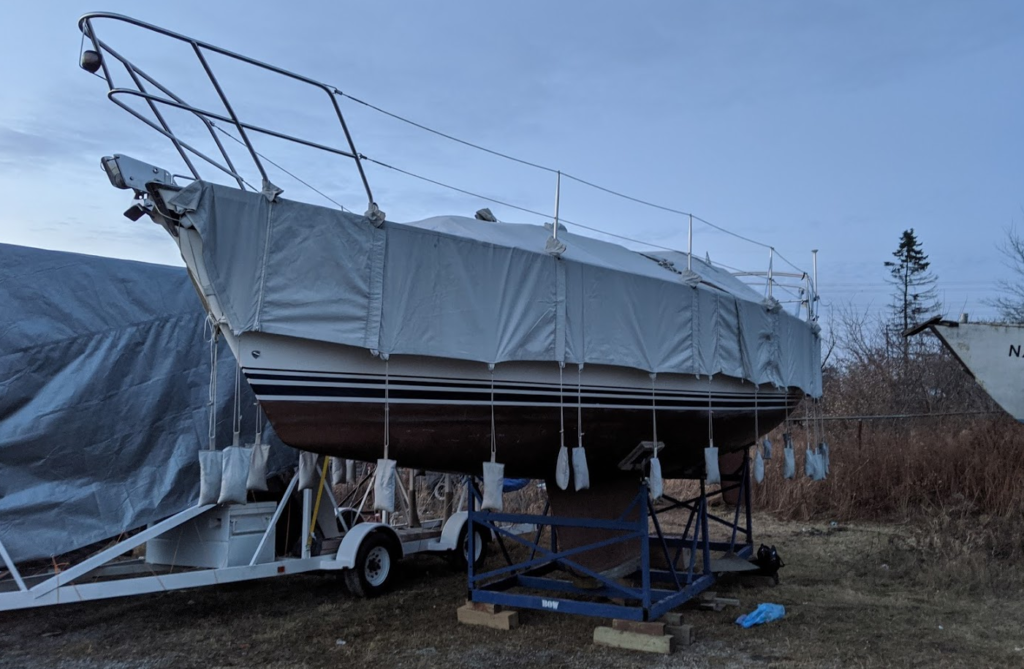
We did one last walk around to make sure everything was locked up and ready for winter. And then Lori gave her one last quick hug and kiss. It’s a cute and sad moment.
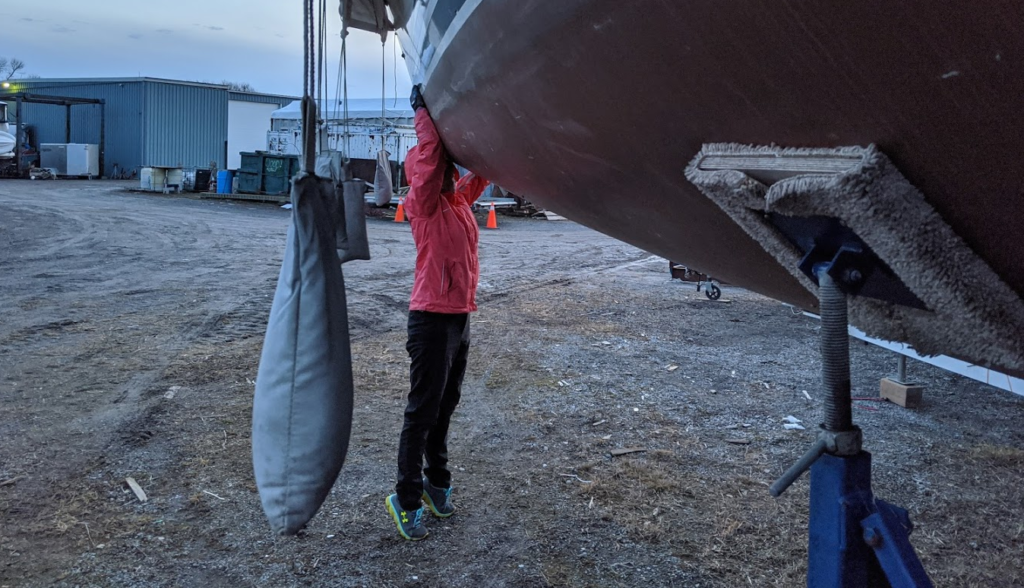
We headed home, skipping the bar this time. We will be back once over the winter to check things out and then it will be time to start spring recommissioning before we know it! We can’t wait. It’s tough not having her in the water.
Batteries at home
Back at home, one last chore to do. Recharge the batteries before storing them in our basement for the winter.
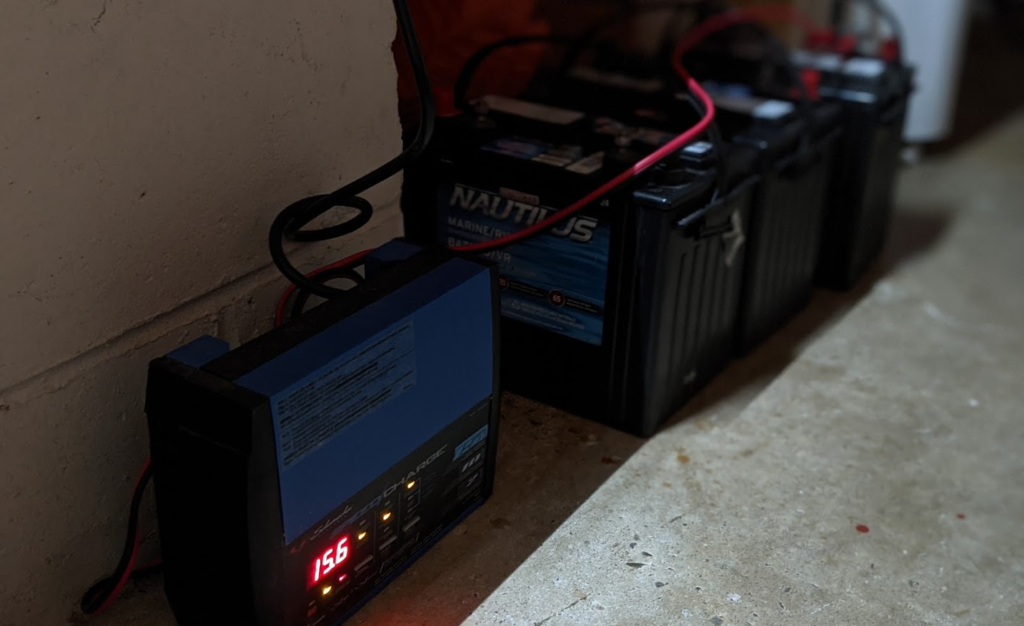
This will be part of our next project on the boat. We will be installing a few solar panels on top of the bimini and part of this project may require new batteries. We are tired of Cobourg not having power at the beginning of the year so we want to be self sufficient even with the fridge running. If you have any suggestions, please leave a comment!



September 27, 2020 at 8:45 am
We have the same boat cover. Any tips on the best way to put it on?
We have the same brace/supports for the cockpit but wondering if the cover just lays flat on deck on the bow section?
I feel there is going to be lots of curse words on our first attempt at this!
September 27, 2020 at 10:37 am
Hi Lori, your boat came with a lot of great gear! I like the simplicity of this cover but also had concerns about it flat on the deck. We haven’t had any issues other than our solar vent. I put an extra tarp over it, just to be safe. And a plastic ice cream container over the mast base of you are taking your mast down.
It’s pretty straight forward to put on. We start at the bow and work back. Keep stretching to stern, we find the back really tight on ours and have blown out the zippers.
One area to watch our for is water accumulating on the side decks near the stern. This happened to us last winter and destroyed one of our scuppers.
Sad the season is coming to an end!
September 27, 2020 at 7:20 pm
Thank you Shane!
I think that was the quickest summer of my life! Thanks for all your help via this blog and emails.
October 22, 2020 at 10:52 pm
Ruhrow!! I just saw your batteries sitting on cement floor! I’m assuming by now people have warned that you never sit batteries on cement for any extended amount of time as it fries the batteries.
October 23, 2020 at 8:40 pm
Hi David,
I’ve never heard this, but now you worried me. I was thinking more for the safety of the concrete, a leak could eat into it? I did a quick search and found this article from McGill University.
https://www.mcgill.ca/oss/article/general-science-you-asked/concrete-truth-about-batteries-stored-concrete
Do you have any info on why this can be bad for the batteries?