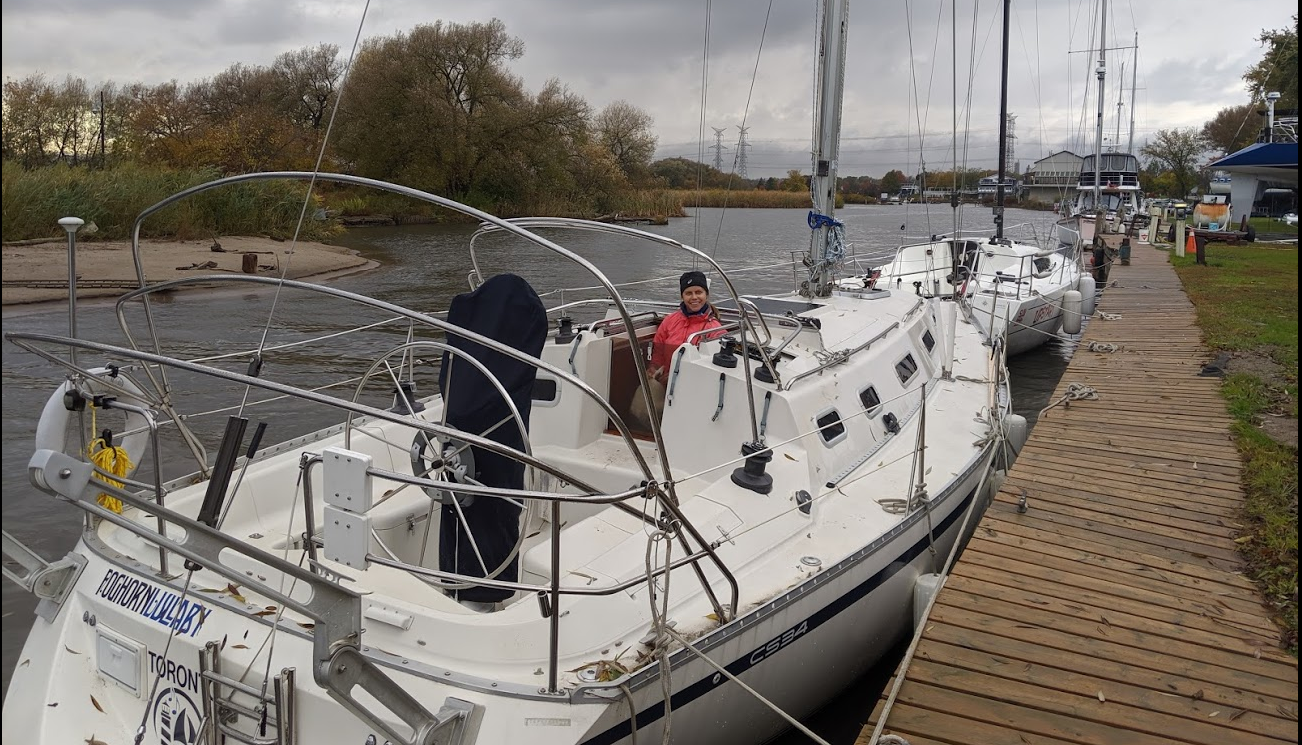
Time for the boat to be hauled out of the water. We were nervous since this was our first time but had experts at Wiggers take great care of us!
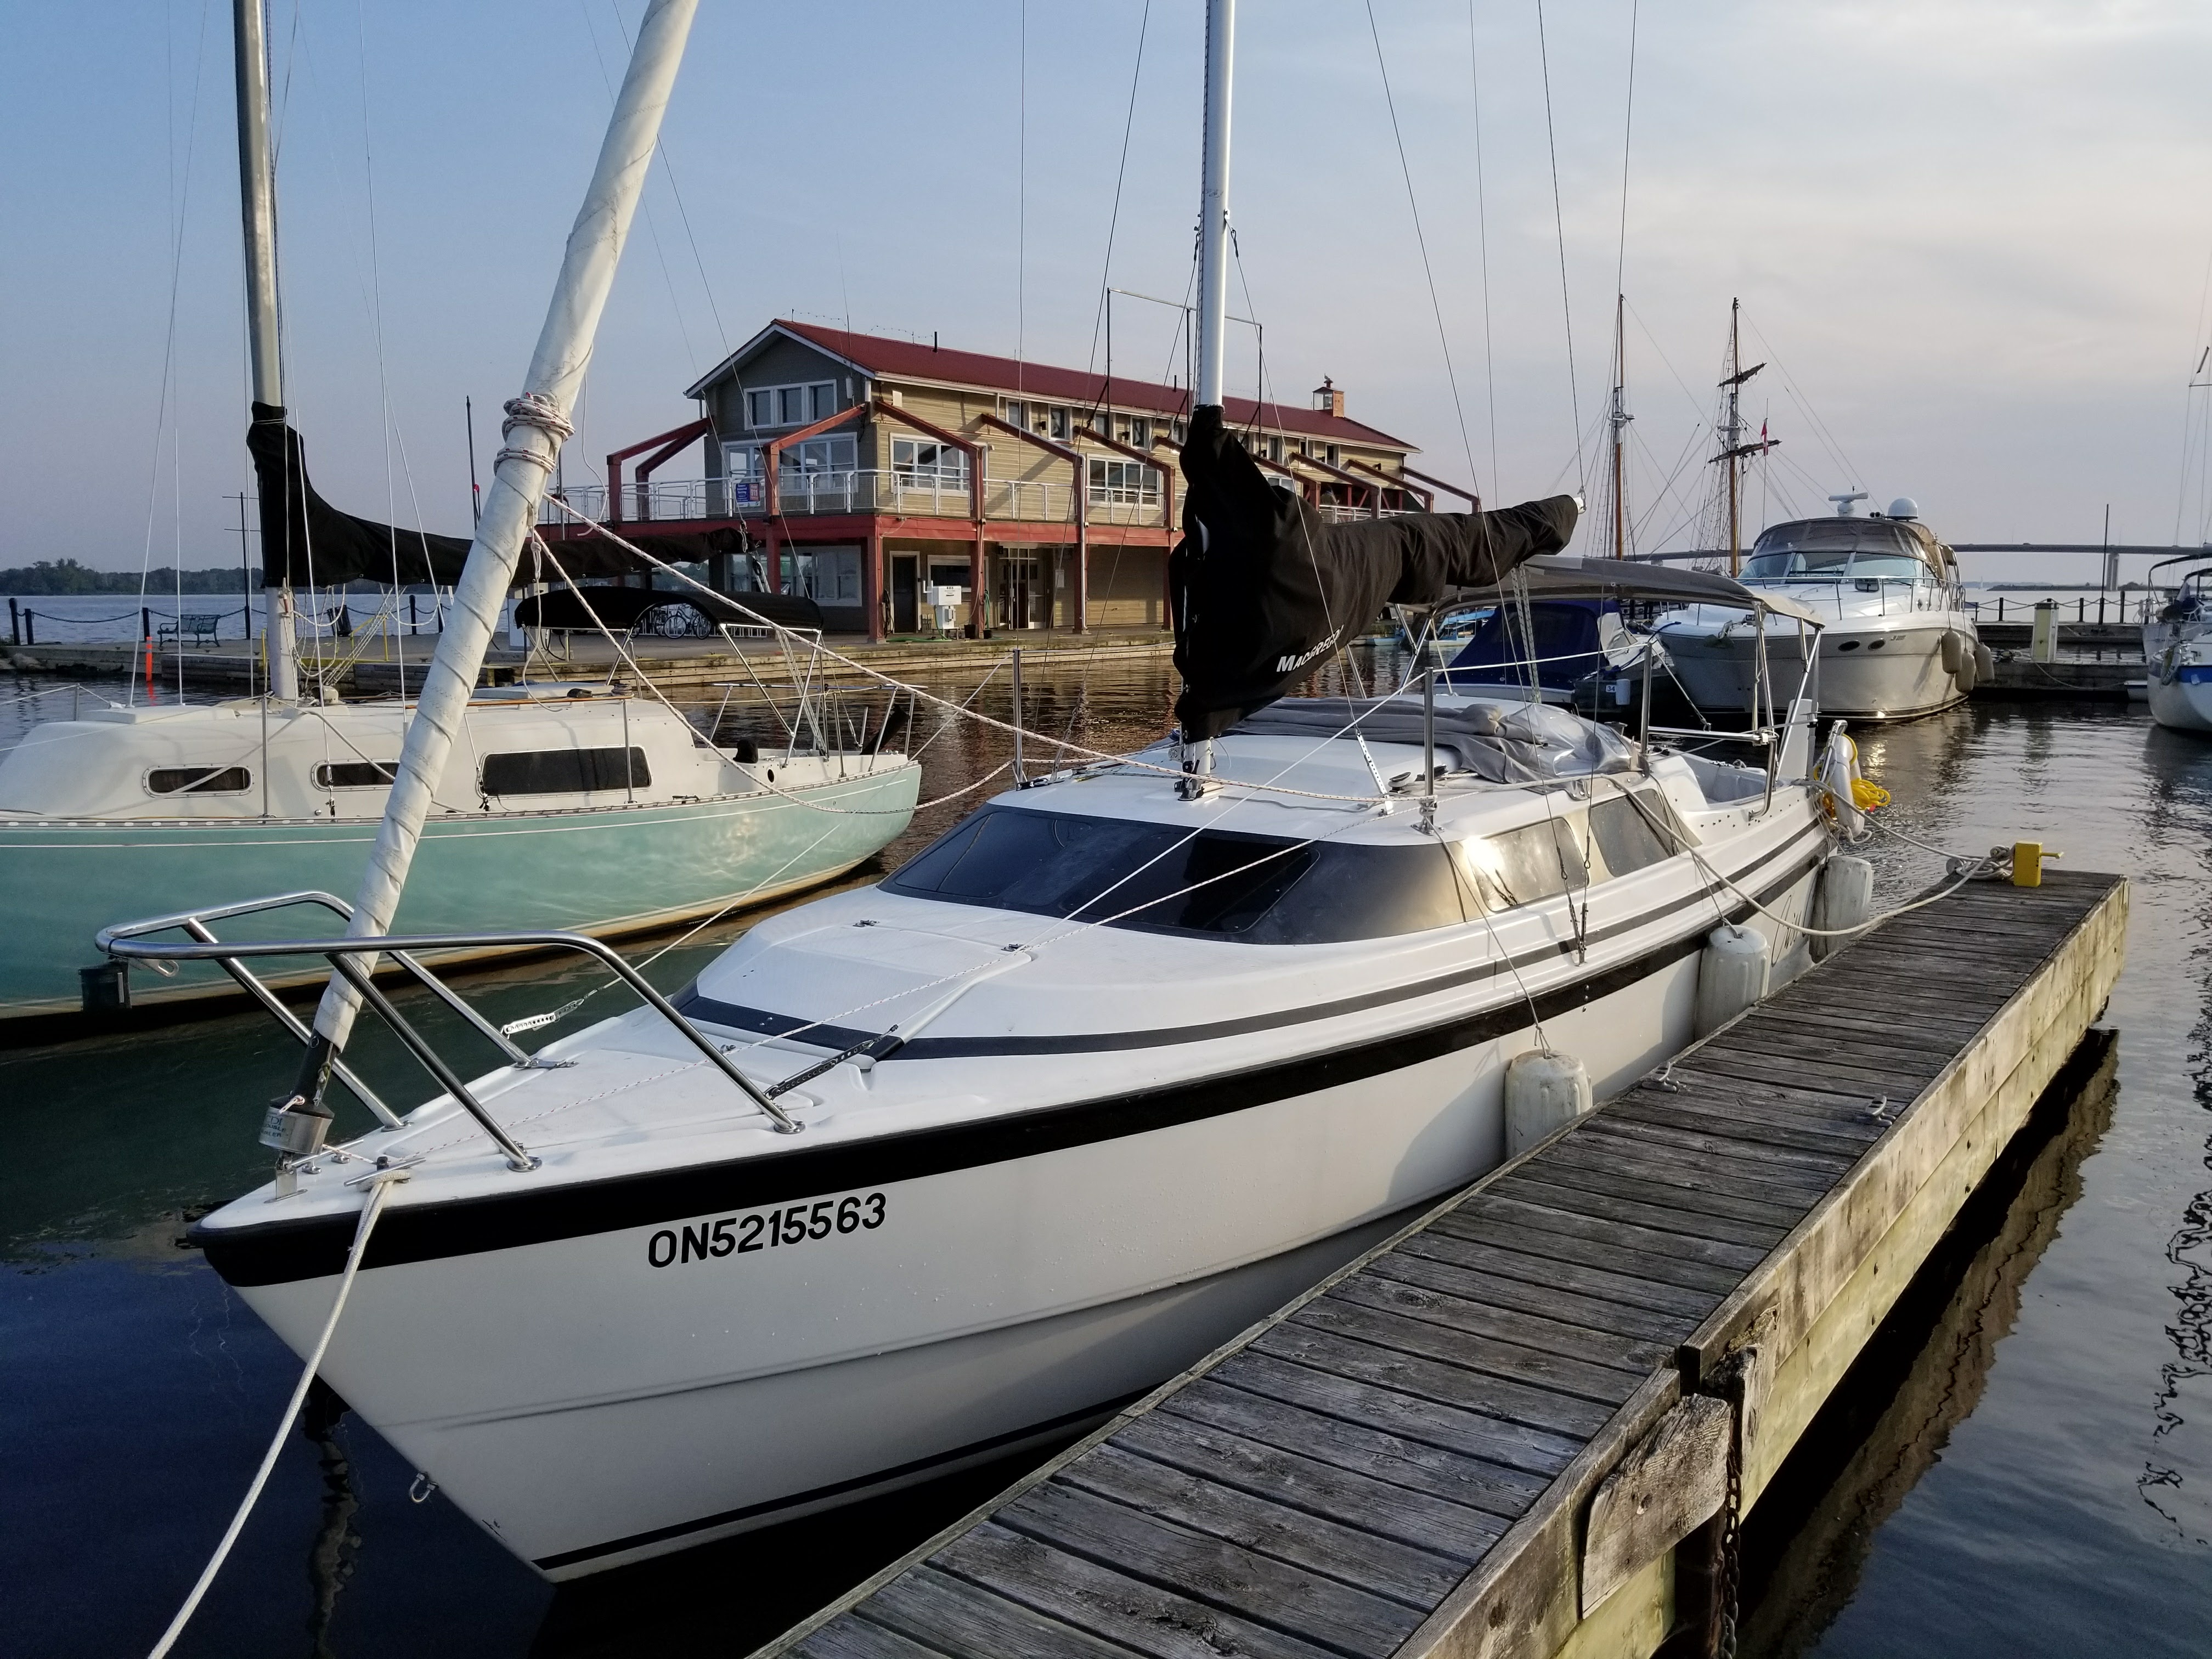
After a fantastic, but short first season with our CS34 we needed to take her out of the water for the winter. Our friends with a CS40 suggested Wiggers Custom Yachts in Bowmanville,ON. We were nervous and unsure of what to do. Our previous boat, a Macgregor 26x, was very simple. The water tanks were bladders that we removed, the head was a porta-potty, and the engine was an outboard. The mast was light enough you could lift it without a crane. And we just pulled it out of the water ourselves on a trailer.
I had no idea what to expect or how to prep our boat.
First step – figure out what the heck we need to do
I started my research chatting with fellow sailors, researching online and I contacted the CS Owners Association Yahoo Group for advice. I received some great feedback:
If the standing rigging is original, have it looked over in regard to replacement while the mast is down. Also a good time to replace anchor light with a LCD, VHF antenna and cable, sheaves at the masthead, service roller furler. The cable disconnects are in the cabin ceiling box at the mast support column.It can turn into a big job. The riggers used a crane to unstep my rig 2 years ago. Good Luck
Phil Maiese, CS34 Legacy
Great idea to consider replacing the coax cable and anchor light with LED.
If you are going to remove all halyards and topping lift consider getting thin messenger line and attach to the bitter ends, Mark these for when you replace them.
The electrical connections and VHF are up behind the headliner under the mast step. Consider the messenger approach by disconnecting them and then tape a messenger to each line. There is a tube that is part of the step which is a pain to feed line through both for unstepping and stepping. If you are considering stripping the mast you may want to consider new VHF coax as the new stuff is less lossy as well as thinner in diameter than the coax used when your boat was rigged.
The mast is top heavy however this isn’t an issue even if you lift under the lower spreaders as long as you keep the mast in column (vertical) when it is unstepped. If you want the hoist point to be above the spreaders this is done by tossing a line up over the spreader, back down and up through the and above the spreader on the other side. Use of a constrictor knot to keep the lift line cinched against the mast is important. Find a suitable tie down point for the bitter end of the lift line, either at the gooseneck fitting or where the Vang attachment is.
I wrap my halyards around the mast so that there isn’t a tangled mess underfoot. If you are removing them see above for messenger line info.
The shrouds and stays are attached to the mast during unstepping. Firstly take tension up on the lift line just to snug the column, then remove all but uppers, then remove backstay and furler/forestay then loosen the shrouds. As the lift progresses bring the furler back to the mast and secure it with bungies. Then walk the mast while still in column (vertical) to shore. Once ashore then lower the mast onto horses. Be wary, always keep two on the base for control.
Once unstepped it is best to remove both the inboard and outboard ends of the spreaders, then wrap all lines and halyards together unless you will pull them out while horizontal.
Unstepping a CS34 mast is easy, the two trouble points are the wire tube exit and top heaviness. Be prepared and take it slow. The guys at Wiggar’s know what they are doing, trust their judgement.
Don Donaldson, CS36T Leighway II
Lots of great information, and really helped us understand what to expect!
With regard to the lines, I like to tie chain sinnet (monkey braid) knots to shorten the lengths of the halyards and then wrap the braided lines around the mast. Once the mast is down, I replace the halyards with tracers.The spreaders must be removed in order for the mast to sit on the storage rack. All stays and remaining lines are zip-tied to the mast to keep them tidy. The roller furler and stays are longer than the mast…I lash a 6′ long piece of 2×4 to the mast in order to support the furling drum. Cap the ends of the mast to keep out critters.
Orest
Good suggestion on keeping the furler off the ground by lashing a board onto the mast to support it.
Biggest pain is messenger-ing all the lines under the deck. Do them one at a time and label the messengers.
Kevin
Now you have a ball of line at the mast base. Just coil it all up and neatly hang from the mast at about gooseneck height.
The wiring is accessed at the top of the mast support post in the small ceiling panels around it. I number those before disconnecting. Then tape a drag line to the mast end of the wires to be pulled out of the deck. Leave lots of extra line so you can cut it after the mast is off the deck. In the spring, tie the mast end to the boat end and draw the wires in carefully as the mast is lowered to the step.
As was mentioned – get a couple of estimates for the standing rigging replacement. Mine was around $2500 US about 5-6 years ago. I did the removal and re-installation. Remove the spreaders and check for cracks or problems with the attaching bolts.
Great idea on taping a drag line to the wires.
The other thing I did was took photos of absolutely everything. I think I have 300+ photos of every bolt, attachment, wire, etc.
At Wiggers
We arrived at Wiggers the night before and stayed on the wall overnight. See my separate post on our trip from Cobourg to Port Darlington. Part of this was emptying out as much of our gear from inside the boat as we could in Cobourg before leaving. I’ve also included some info on our first grounding in that post.
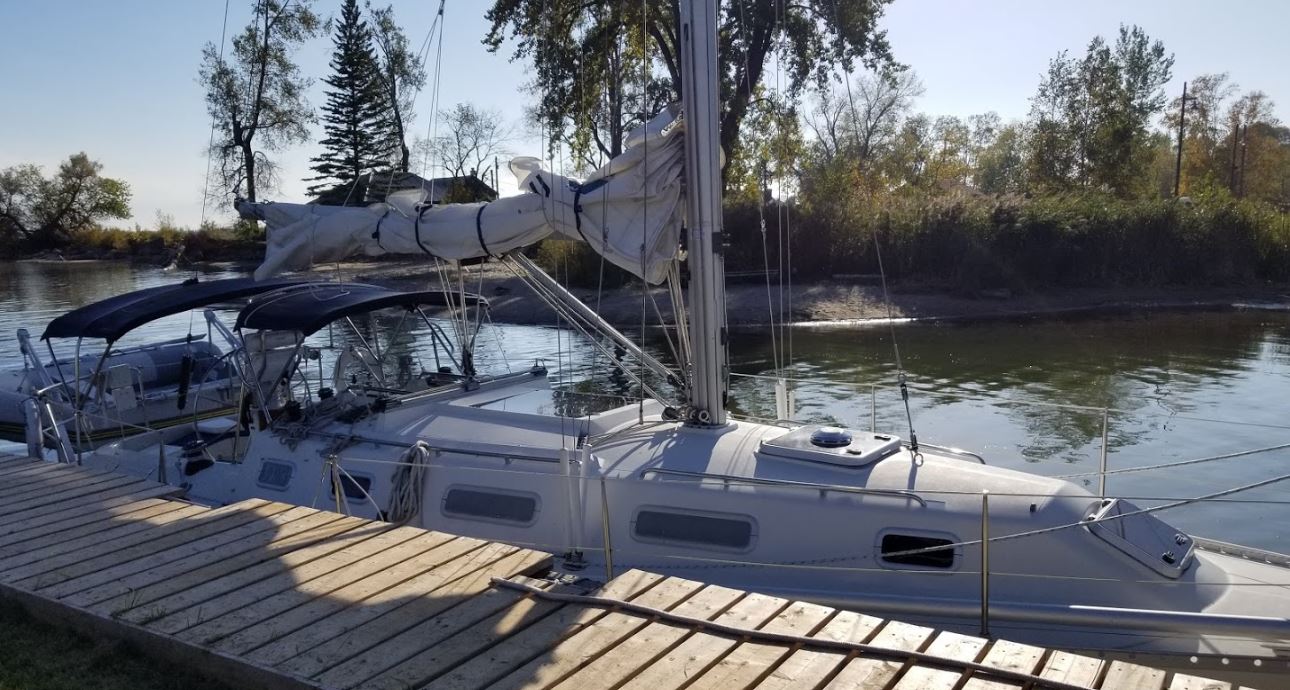
We removed the sails and detached the boom. And continued to load up our truck with gear. It’s nice and convenient since you can get your vehicle close to your boat. Our friends stopped by for a drink and decided we were close to done and saved the remainder of the work for the morning. We were scheduled for a 9am lift out. Ordered some amazing pizza from a local shop, Al’s Famous Pizza, and turned on our deck and anchor lights so they could find us easier in the dark marina.
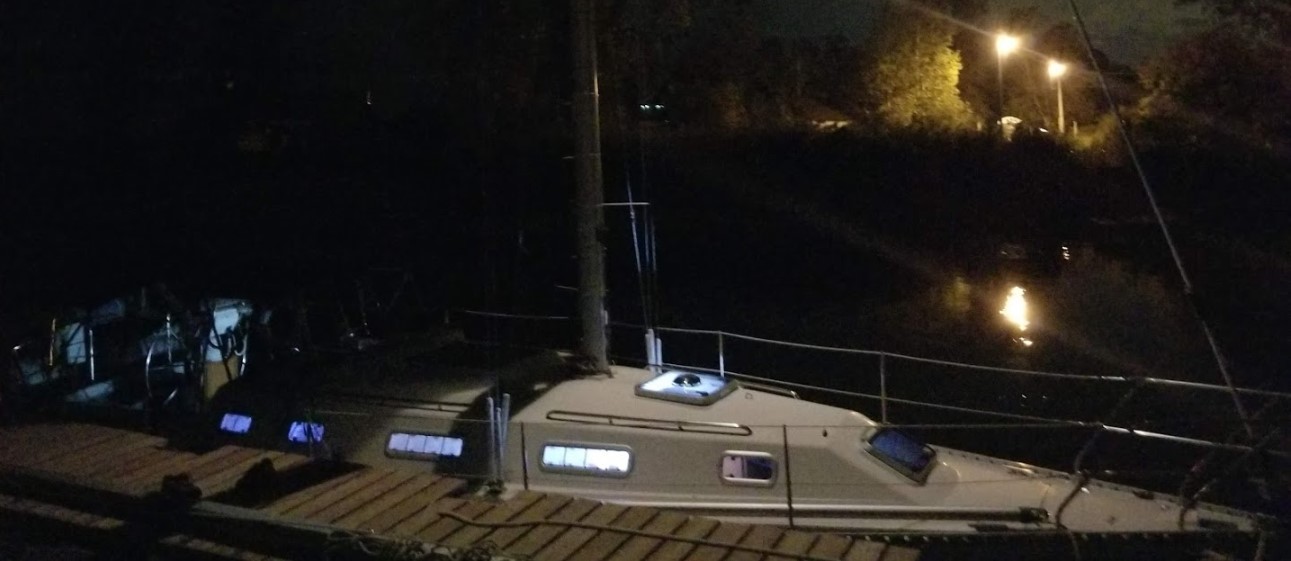
Lift out
Woke up early and finished up cleaning up the lines and clearing all the remaining gear from the boat. About 8:40 a crew shows up to move our boat to the lift. And notice we weren’t completely done unloading, we didn’t realize 9am lift out means the boat is in the lift at that time.
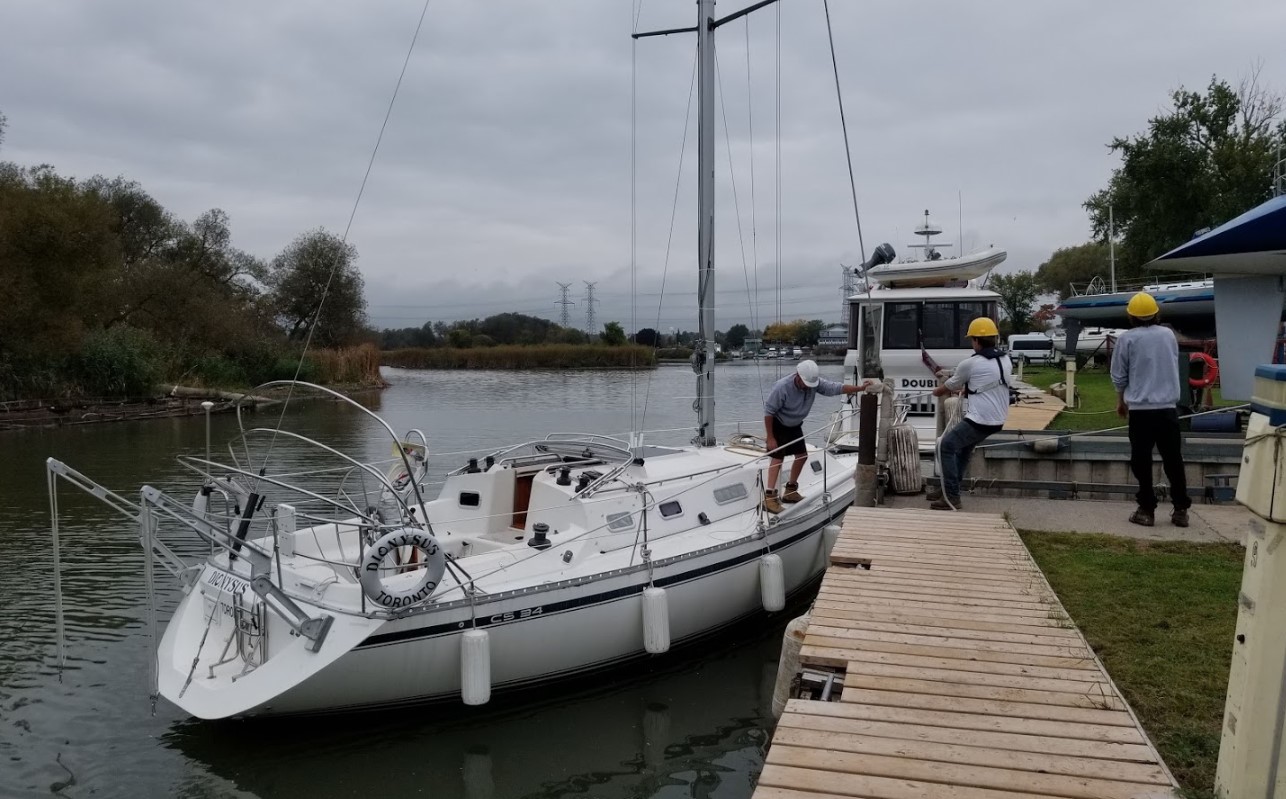
At this point I’m getting ready have the mast removed with my tool box in hand. The crew just politely tells me, you can stand over there. And then I watched in amazement.
The crew wanted to let me know they were disconnecting the wiring for me but suggested I take the following picture to help reconnect in the spring. Next time I’ll have this disconnected for them.
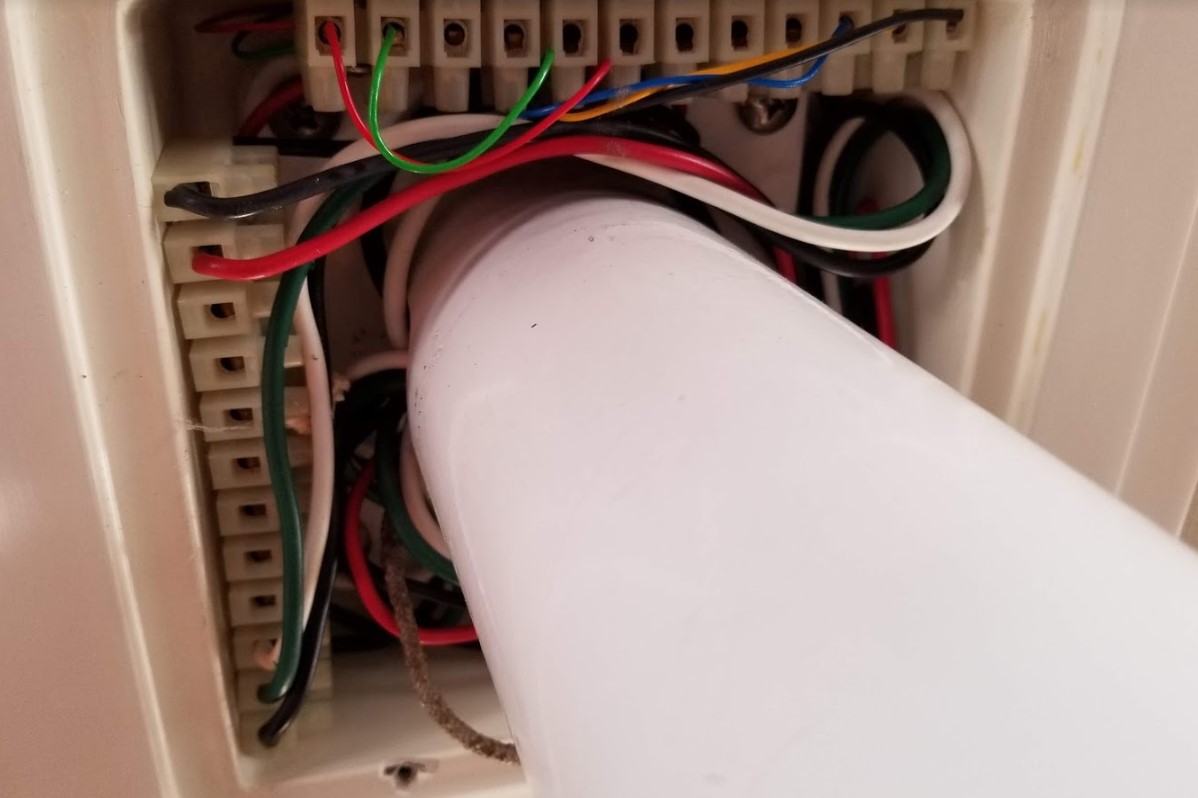
The crew knew exactly what they were doing. And effortlessly had the mast taken down within 30 mins.
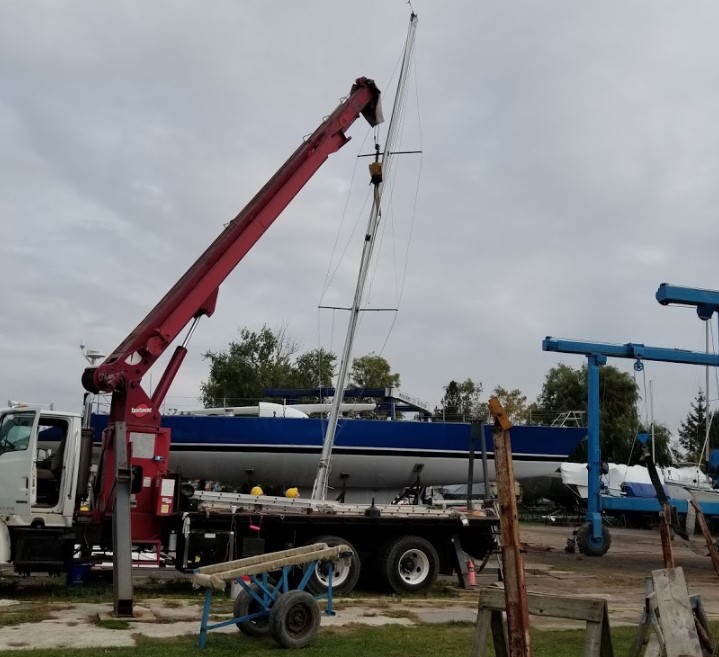
Afterwards they mention that the rings holding the rigging were oversized and suggested a different size to put on in the spring. The boat looked a lot different without the mast!
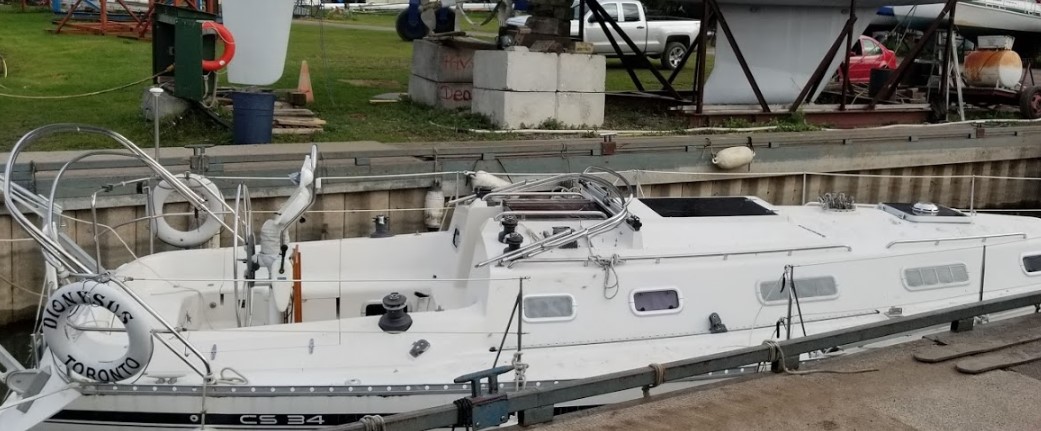
At this point, my brother in-law who was storing our cradle at his property had showed up with his truck and our cradle loaded in his trailer. Perfect timing! Thanks Marc!
They brought in the large lift, put on slings and pulled her out of the water.
I’m glad we paid the extra for Wiggers to powerwash the bottom, this would have been a cold, wet, and a much longer process for us to try and do ourselves! Afterwards they then transferred the boat onto the cradle and then moved it to the yard.
Final spot for winter storage
And here is the final resting spot for our boat for the winter.
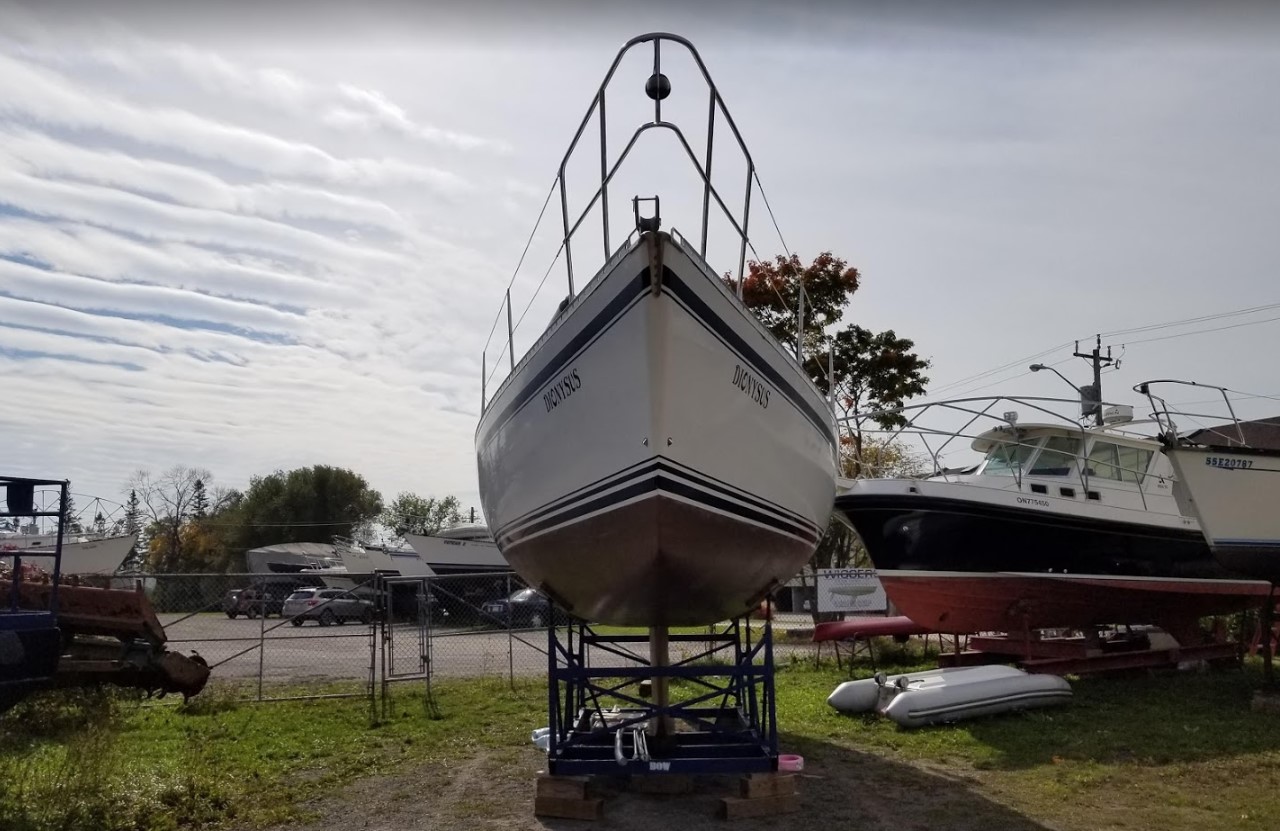
We stayed a bit longer to remove some remaining gear from the boat. And then headed home for the day. Note: That’s not our dinghy! We’ll be back later to cover the boat after Wiggers winterizes the engine and other systems on the boat. We were really scared we would mess something up if we did this ourselves so decided to pay a little bit extra to have the experts do it for us!
Lessons learned
- Wiggers is amazing! They knew exactly what they were doing and were professionals.
- There is a lot of gear on our boat, more than just one truckload. Fortunately we had our SUV and Marc’s pickup + trailer. We could have probably done a better job at clearing out more of the gear (i.e. most cushions) in Cobourg.
- Paying a little extra for the experts to do something, with the gear they have on site, is worth it! Glad we paid for the powerwash and winterizing!
- Bring a better ladder. I had brought our 4′ Costco ladder and it wasn’t tall enough to easily get on/off the boat while it was on the cradle. I broke the top handle using it as an extra step. A second ladder could also be useful to help unload some gear.
- I forgot to bring a piece of lumber to support our furler.
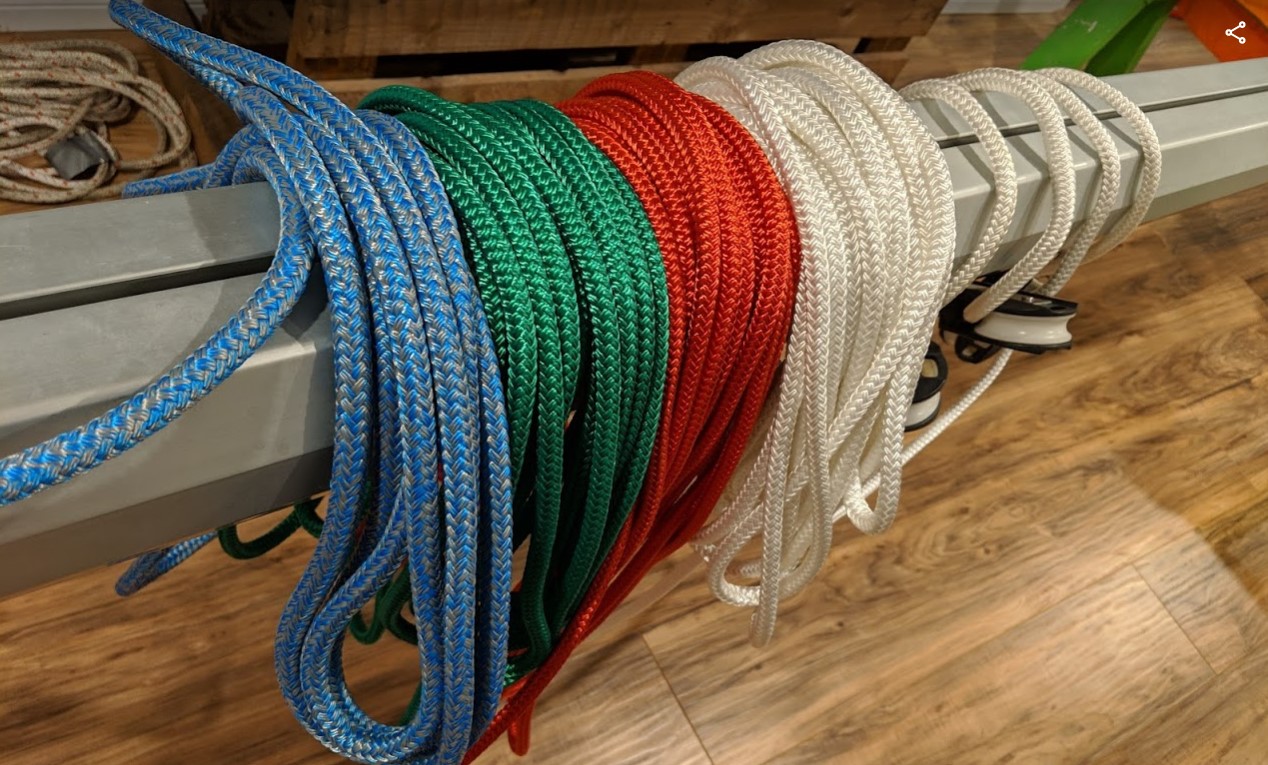
- Measure lines for replacement. We are going to replace all of the lines in the spring. And instead of feeding tracers into the mast we just cut them off at the base and will use the existing lines as the tracers. I didn’t measure them and this later caused some grief in trying to calculate total lengths of the lines.

1 Pingback